This series of pictures through Standedge Tunnel begins at the Diggle end.
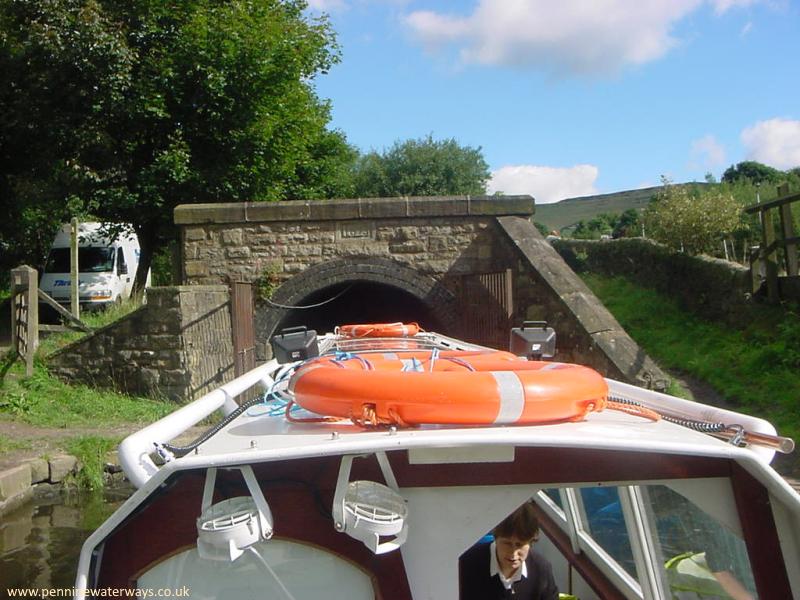
Entering the tunnel at Diggle portal.
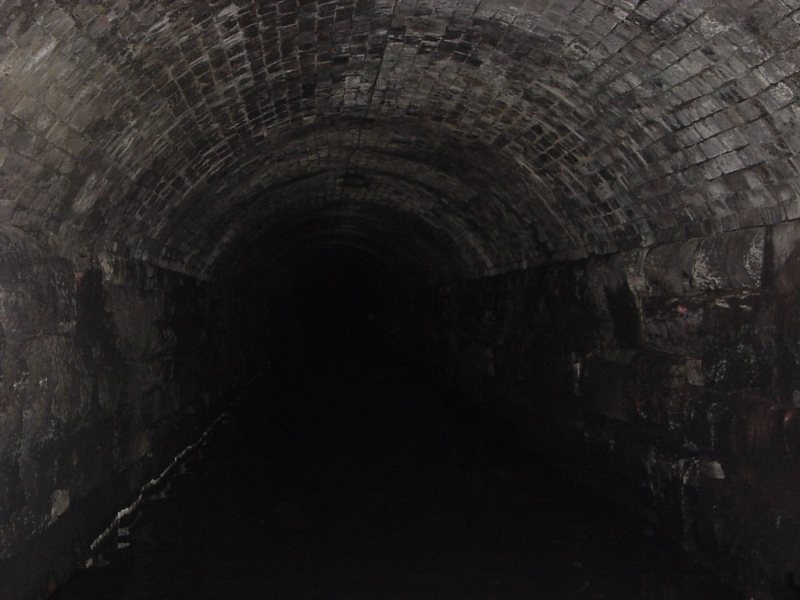
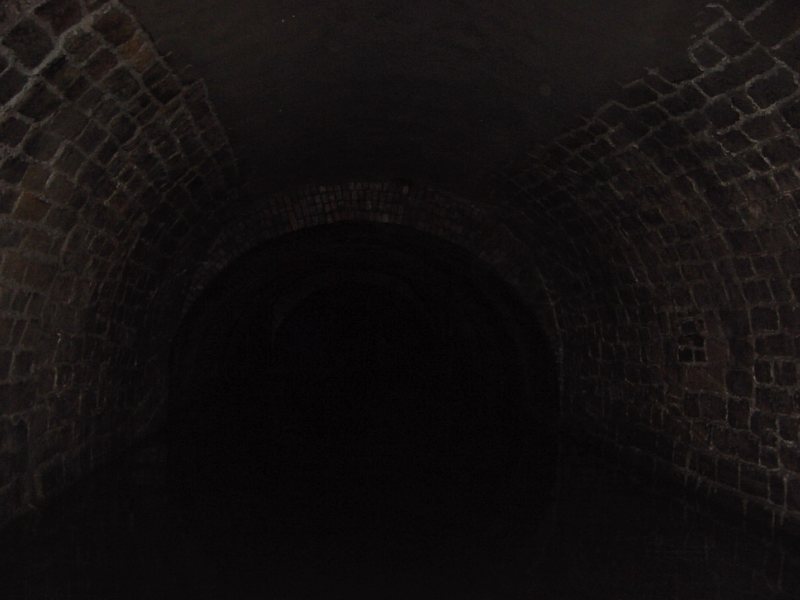
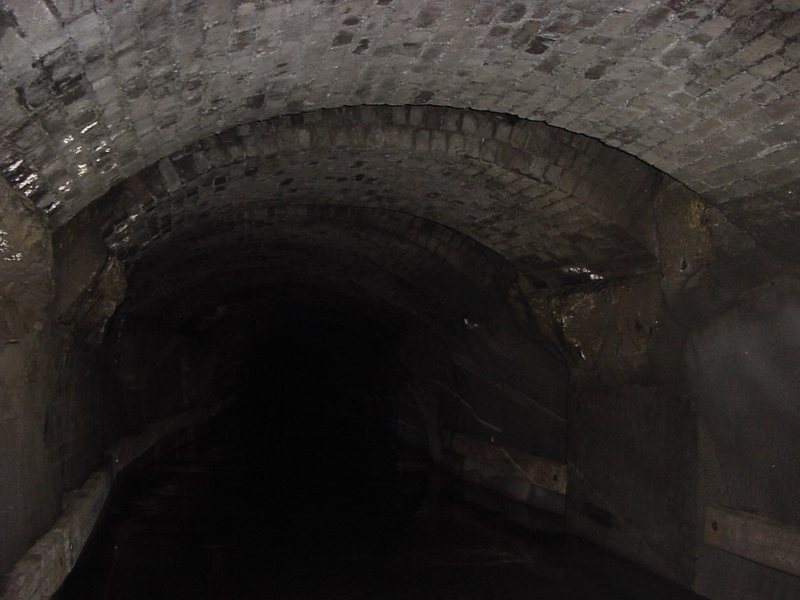
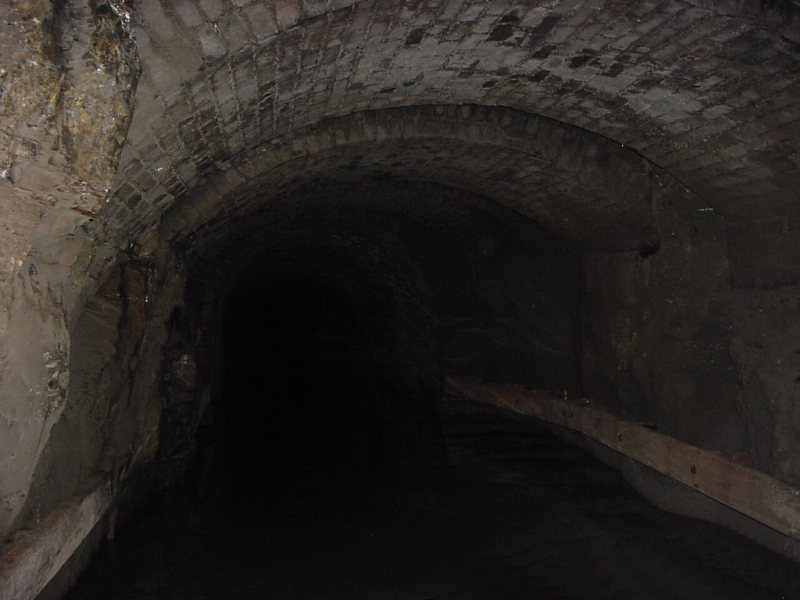
The first section of the tunnel is a brick arch built on stone walls.
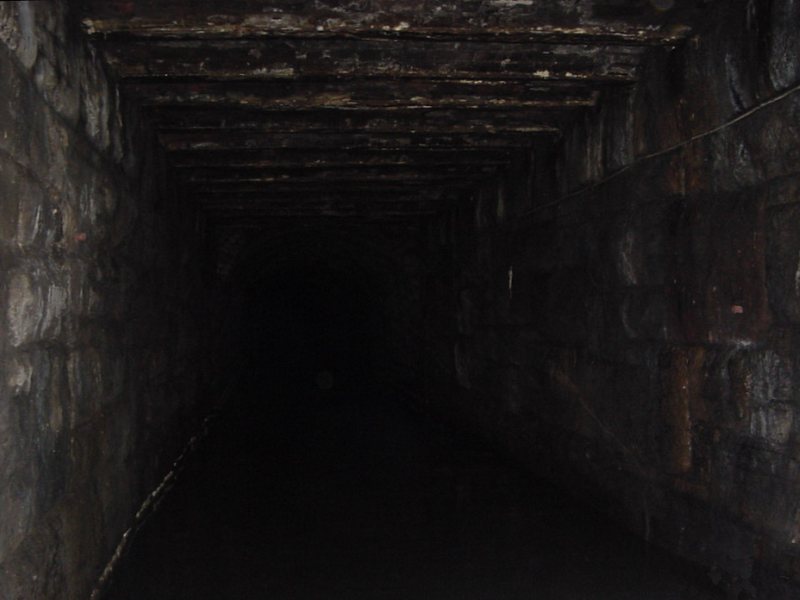
Metal girders support the roof where the railway crosses over the tunnel.
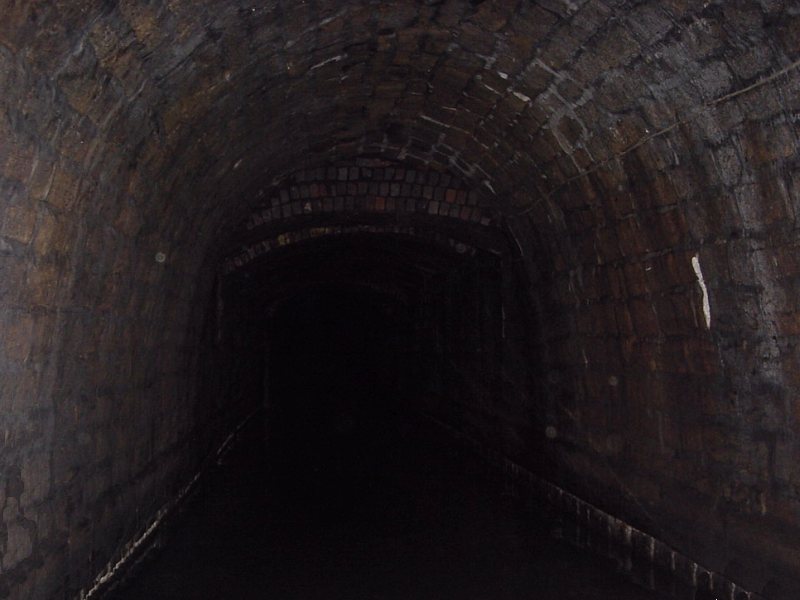
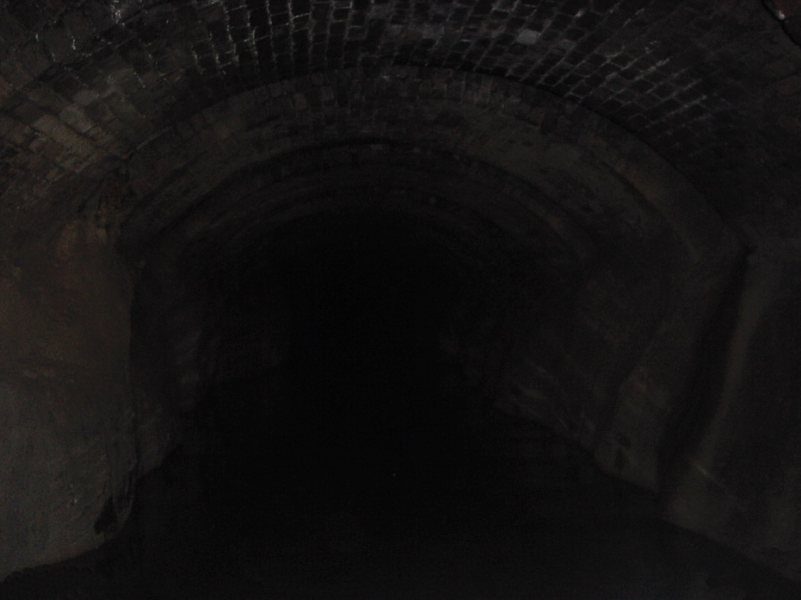
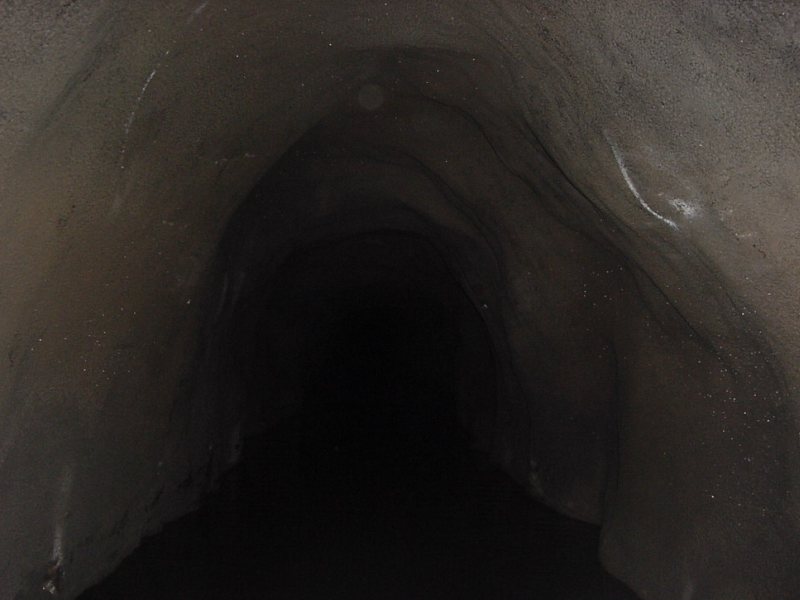
The tunnel profile changes.
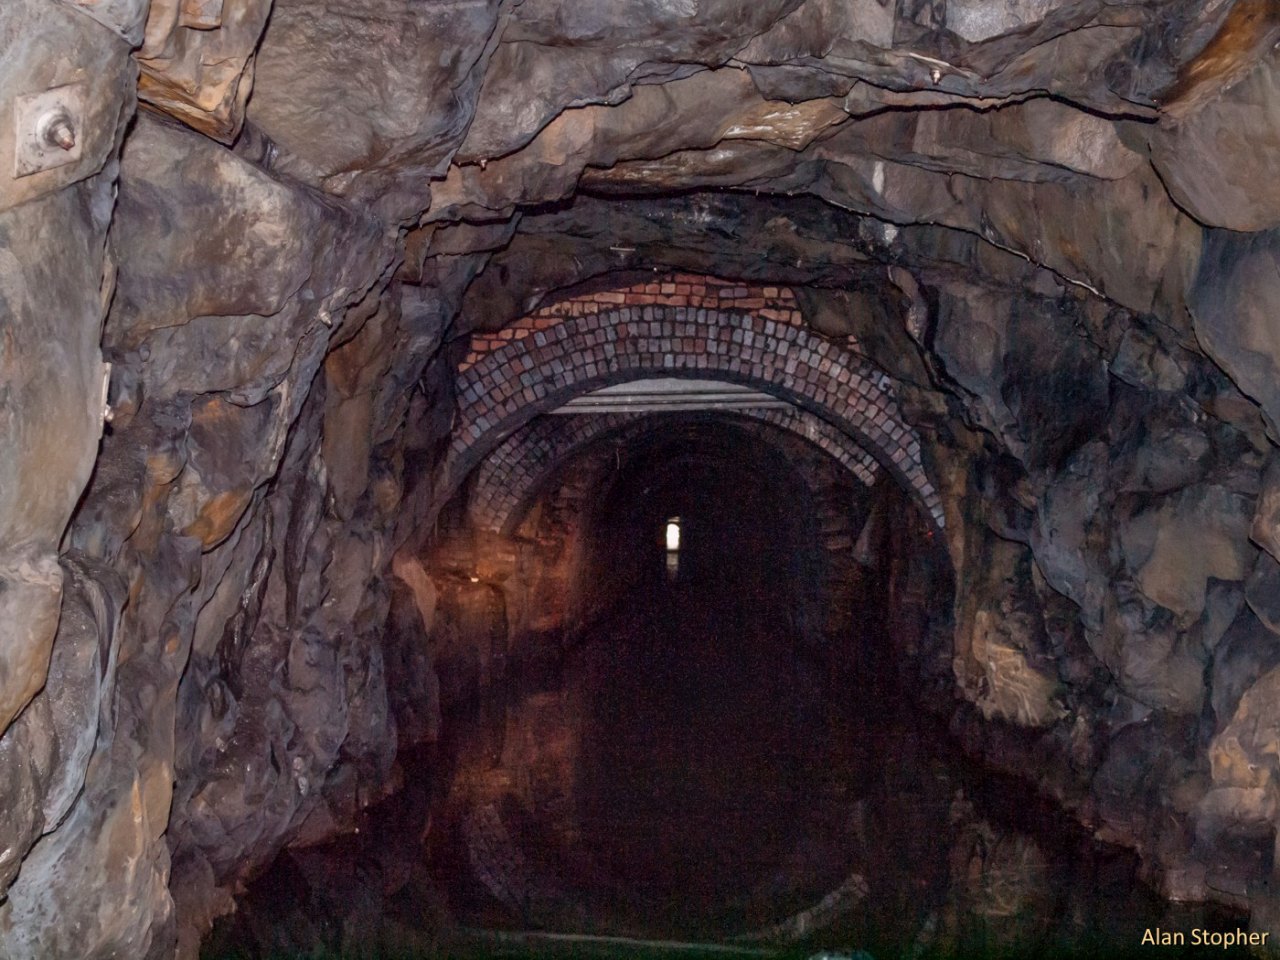
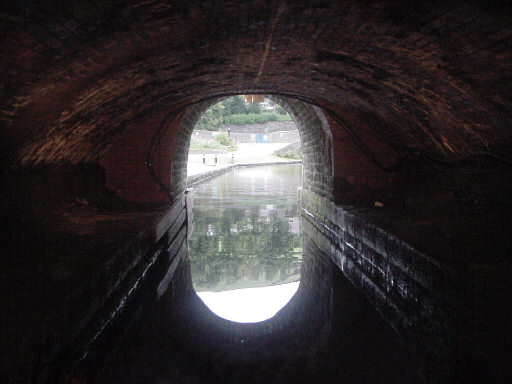
Looking back towards diggle from below the first air shaft. Photo: Alan Stopher.

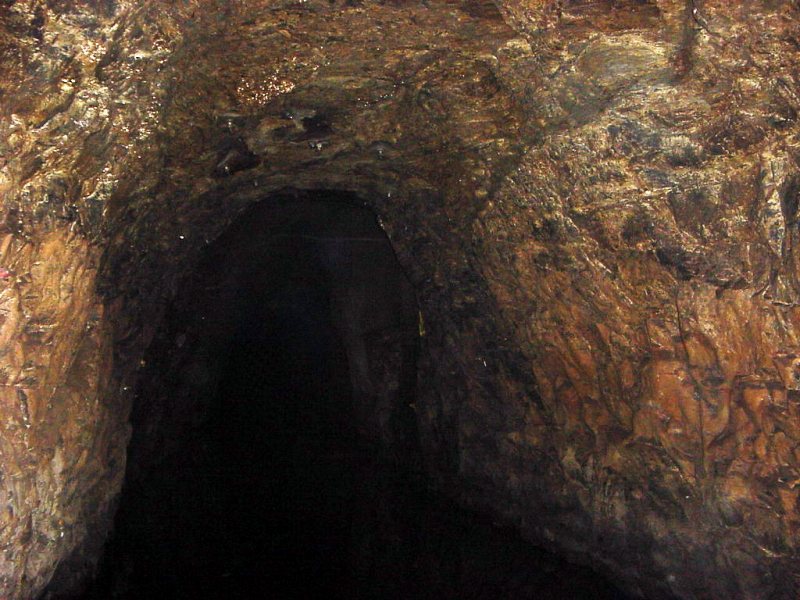
Bare rock faced section, with rock bolts visible.
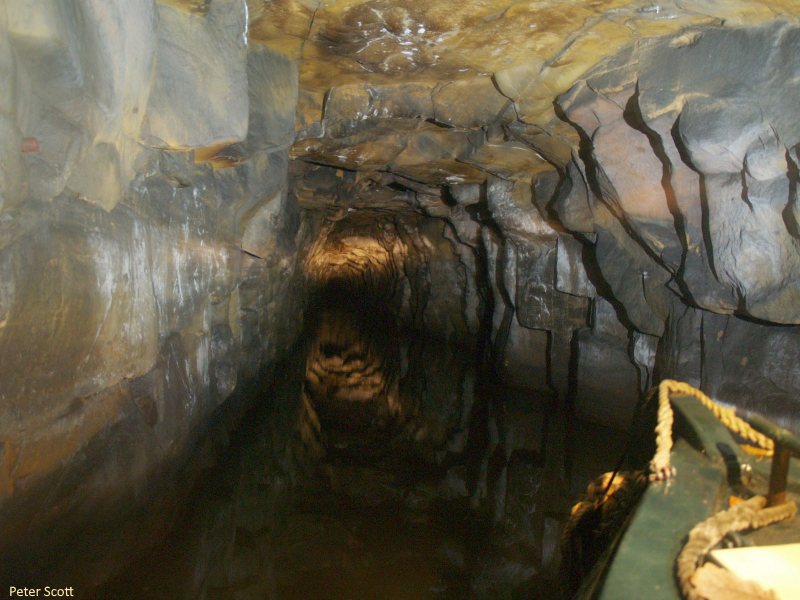
Rock faced section. Photo: Peter Scott.
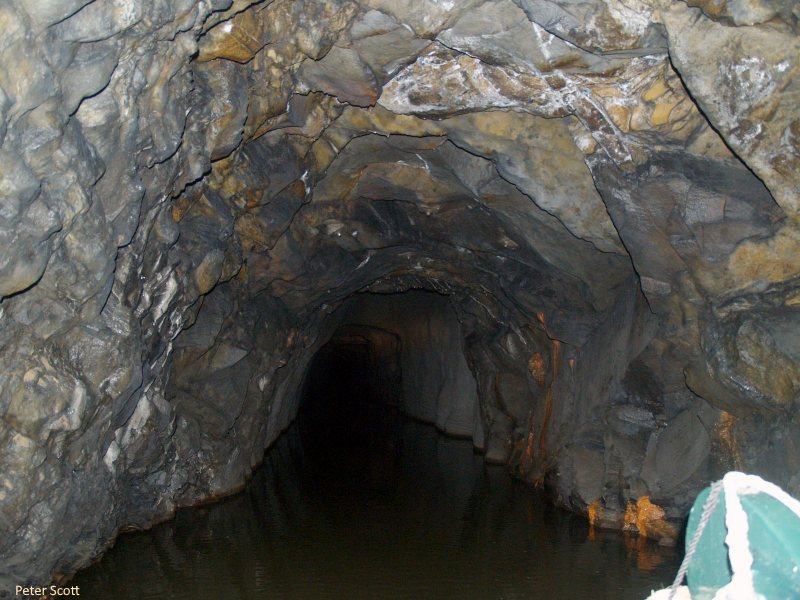
Rock faced section. Photo: Peter Scott.
A section where loose rock has been re-inforced with steel mesh and sprayed with concrete.

High-roofed section with concrete-sprayed surface. Photo: Peter Scott.
The tunnel widens out for a while.
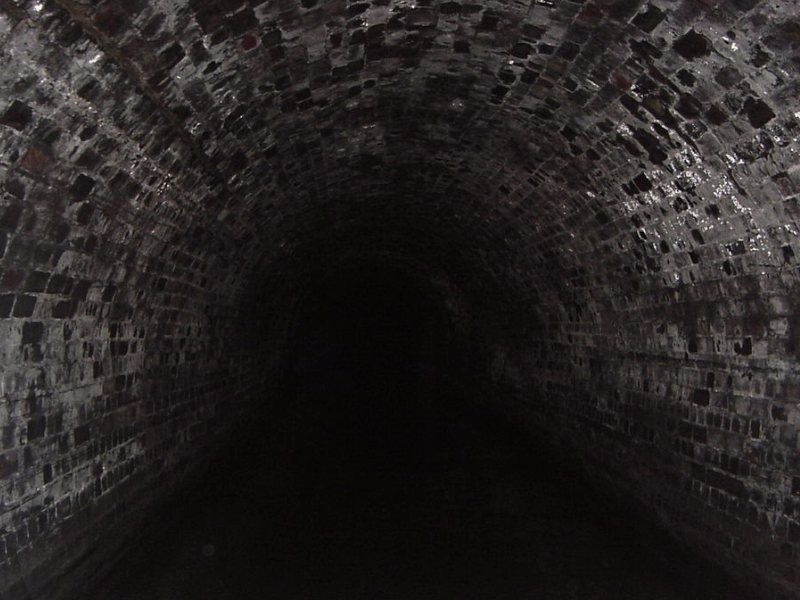
A completely brick-lined section.
Jack arches support the roof above rock face walls.
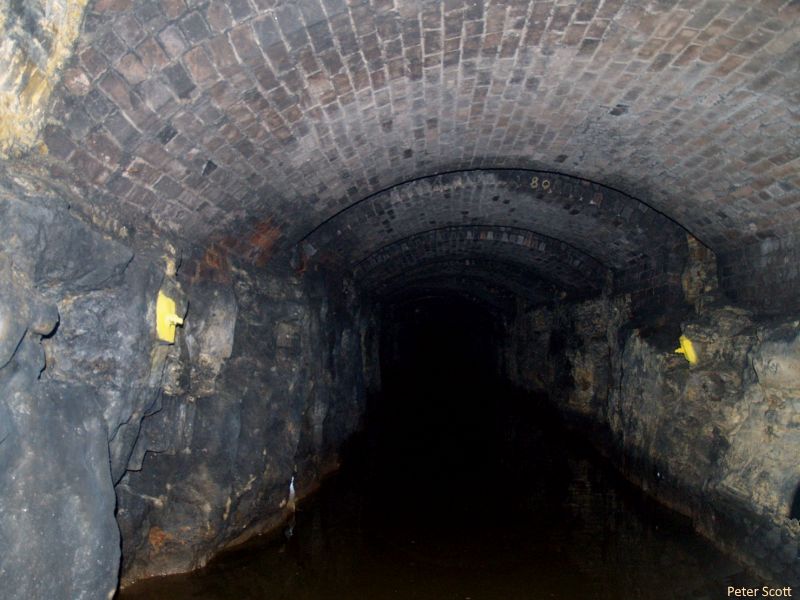
Rock faced sides and rock roof supported by brick kack arches. Photo: Peter Scott.
Around half-way through, the tunnel swings to the right...
...and then to the left.

Low wide arches span one of the wider passing points.
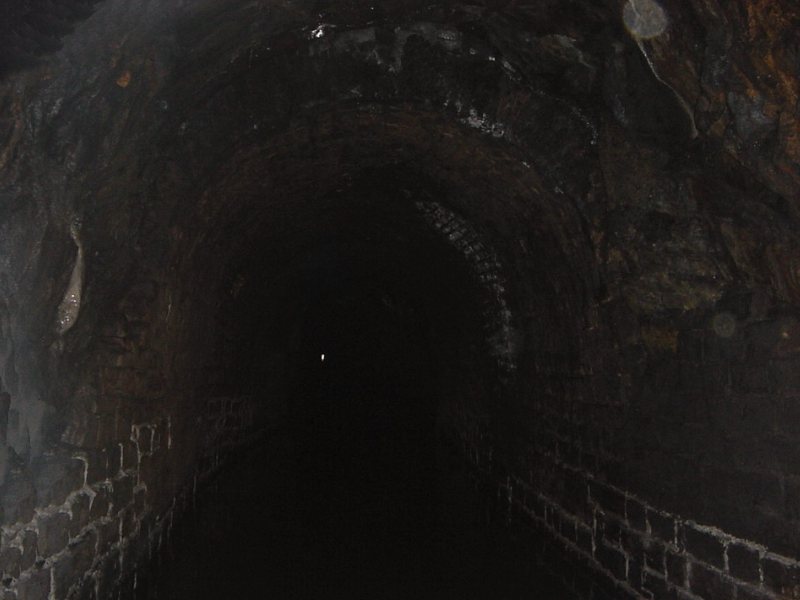
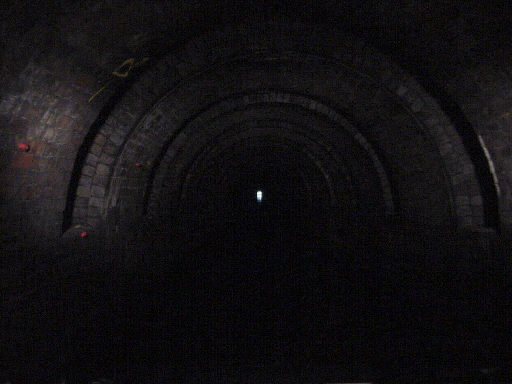
The light at the end of the tunnel becomes visible nearly an hour before the end is reached.
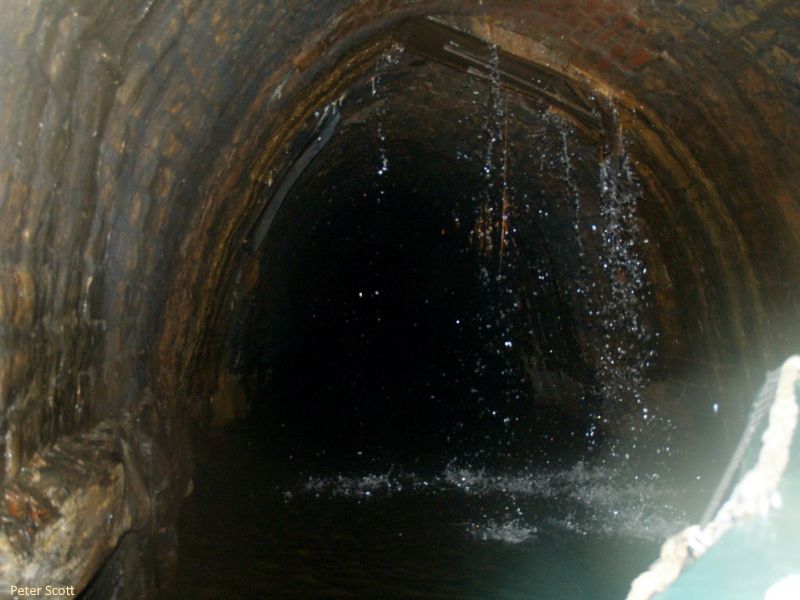
Free boat-wash where the canal passes under one of the ventillation shafts. Photo: Peter Scott.
Just inside the Marsden portal, wide arches overhead show where the railway crosses back over.
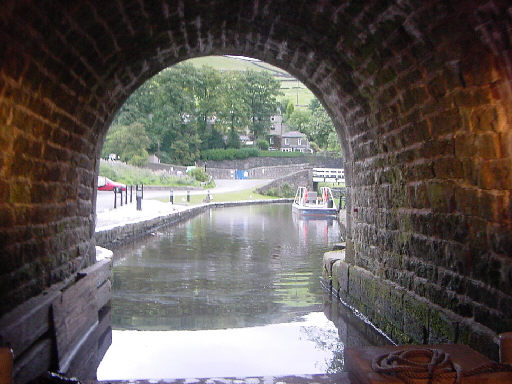
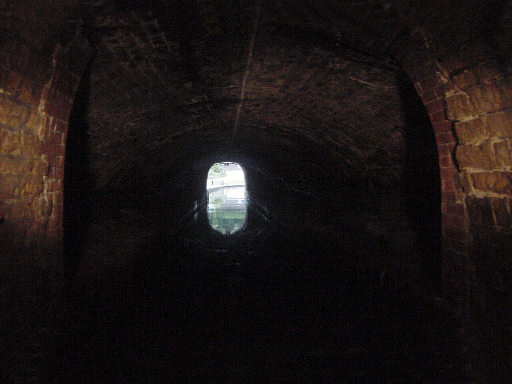
Daylight at Tunnel End, Marsden.