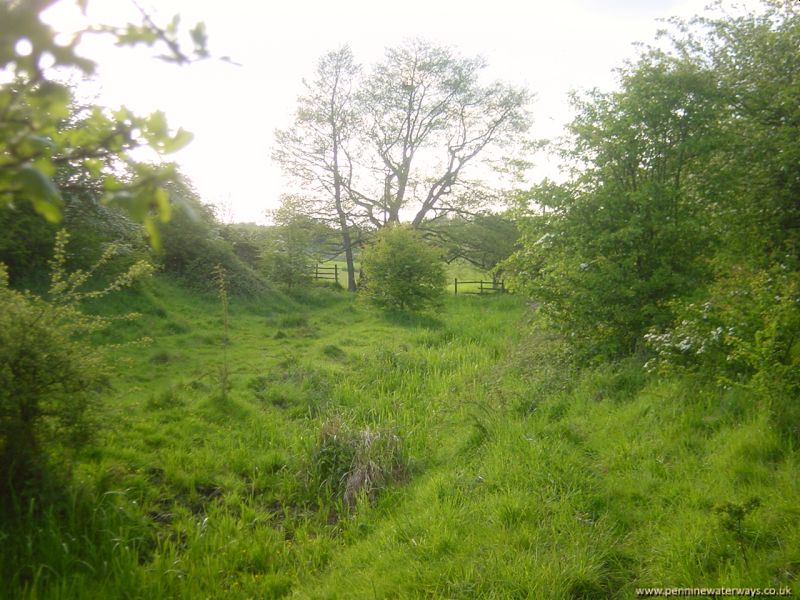
 The next section, looking westwards towards Barugh.
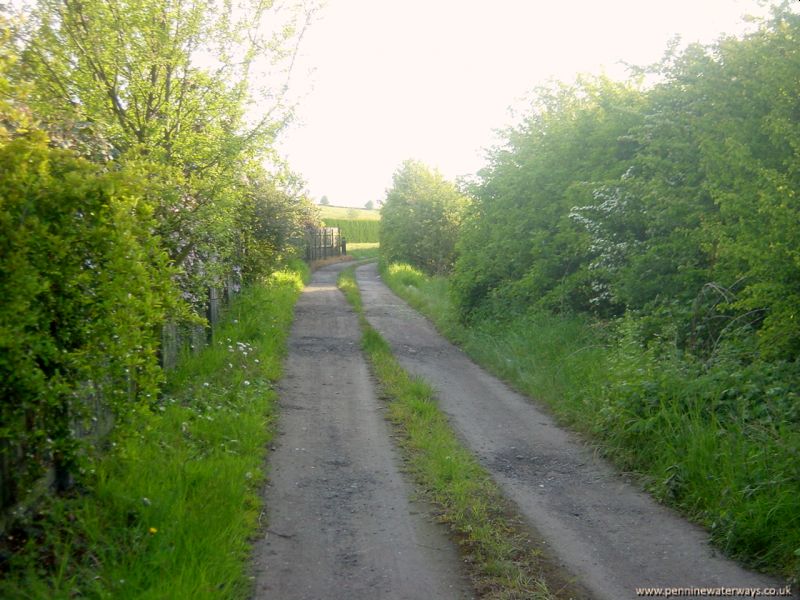
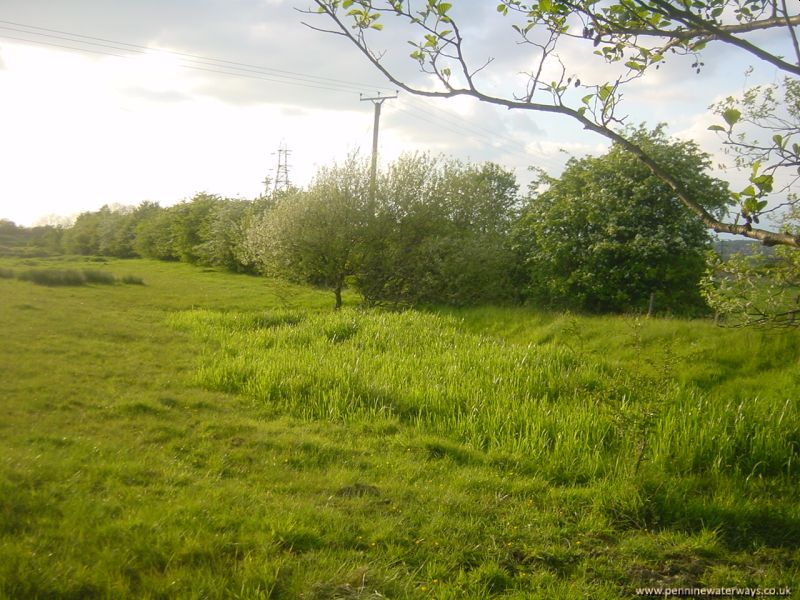 The canal route continues along the right hand edge of a field, with a boggy area showing the former canal bed.
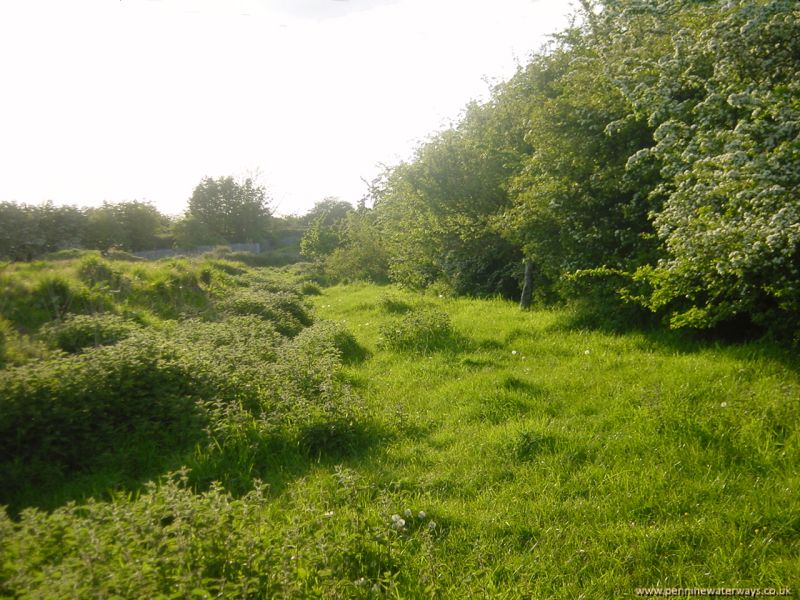 Continuing westwards. In the distance can be seen the railway embankment beyond which the flight of five locks at Barugh started. The first lock was immediately after the railway. The five locks and the canal beyond were abandoned in 1893 because the cost of maintenance exceeded the income generated by that part of the canal, as most of the trade had been lost to the railways.
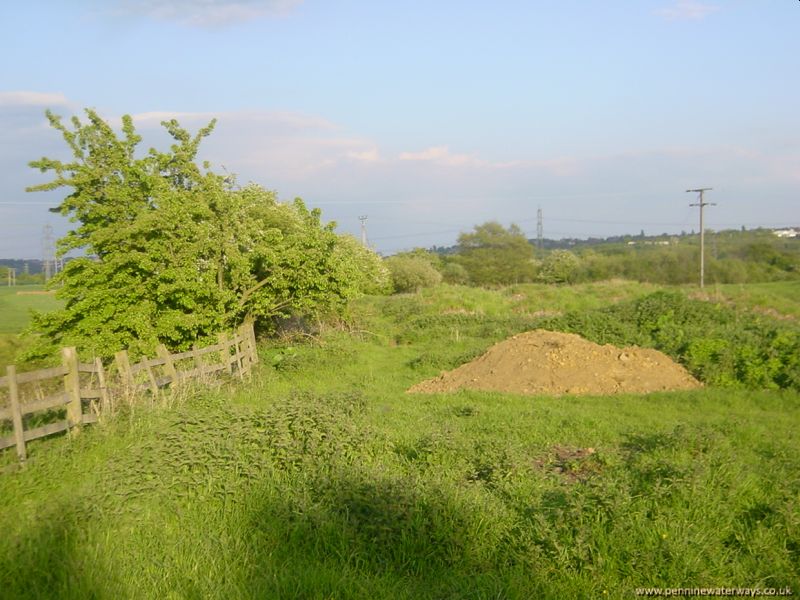 Looking back from near the railway embankment. This was the terminus of the canal from 1893 to 1953.
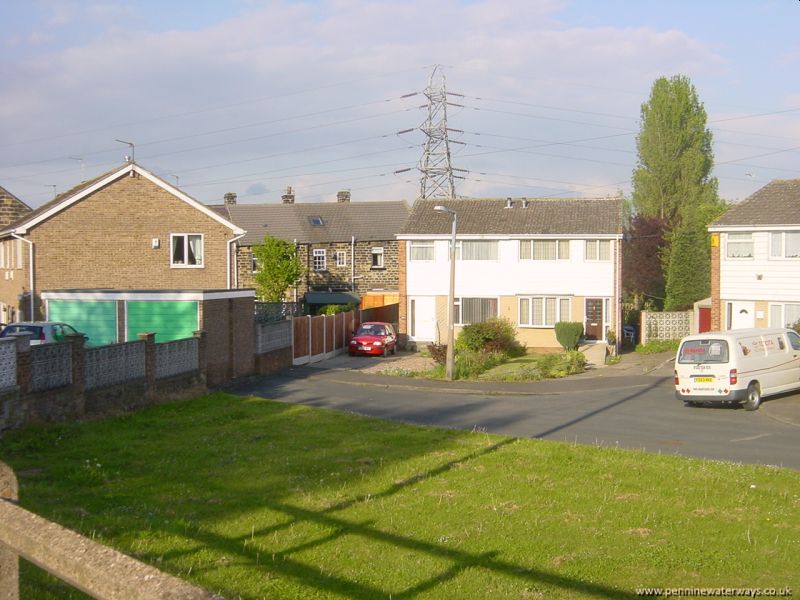 Looking north-east from Dearne Hill Road in Low Barugh from the site of the road bridge across the canal.
The second lock in the Barugh flight was situated roughly where the pair of semi-detached houses now stand.
Looking north-east from Dearne Hill Road in Low Barugh from the site of the road bridge across the canal.
The second lock in the Barugh flight was situated roughly where the pair of semi-detached houses now stand.
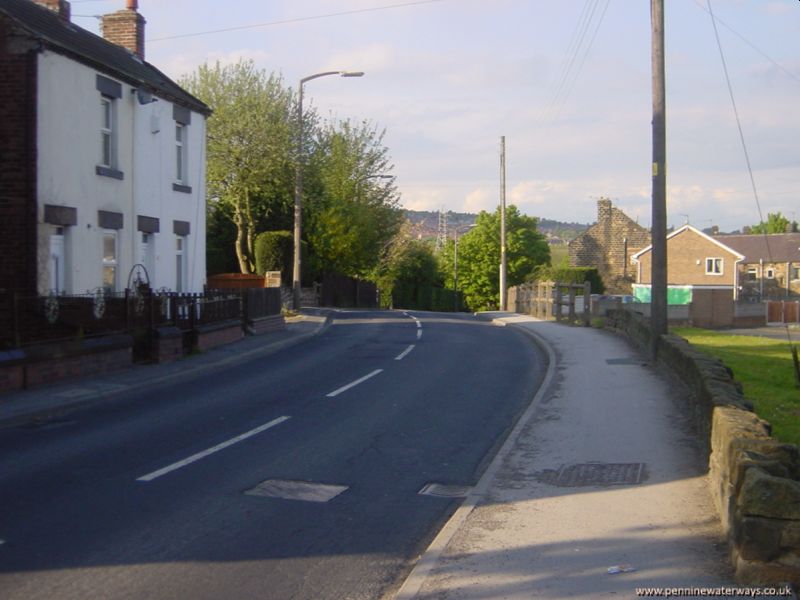 Dearne Hill Road in Low Barugh. Only the slight hump and kink in the road now indicate where the canal bridge once stood.
The third lock in the flight was adjacent to the road on the left hand side.
Dearne Hill Road in Low Barugh. Only the slight hump and kink in the road now indicate where the canal bridge once stood.
The third lock in the flight was adjacent to the road on the left hand side.
 Looking westwards from the site of Barugh Bridge, Barnsley Road, Low Barugh. This shows the site of the top lock.
Beyond here, the canal continued for another mile to Barnby Basin, although the route can no longer be followed.
Looking westwards from the site of Barugh Bridge, Barnsley Road, Low Barugh. This shows the site of the top lock.
Beyond here, the canal continued for another mile to Barnby Basin, although the route can no longer be followed.
The first section of this part of the route is now a private drive to a building called "Canal View"! Beyond that the route is blocked by the M1 motorway.
Barnby Basin was the location of an interchange between the canal and a waggonway from Silkstone Colliery.
Several of the buidings that surrounded the basin still remain.