The photos on these pages are from the archive of the late John Smith.
John was born in 1944. He and his brothers, Geoff and Derek, lived in Droylsden where their parents, Alec and Annie, ran a greengrocer's shop. Although he worked as a BT engineer, his hobbies were Youth Hostelling, folk music, Morris dancing and Canals.
As a boy he played and camped by the canal, helped in clean-ups, and thought the canal in Droylsden was massively neglected.
Towards the end of his life he showed his daughter his collection of canal photographs and expressed a desire for them to be shared somehow. John's collection is being published on these web pages on behalf of John's family and Tameside Local History Forum.
The photos are mostly of the Ashton Canal and start from the Manchester end.
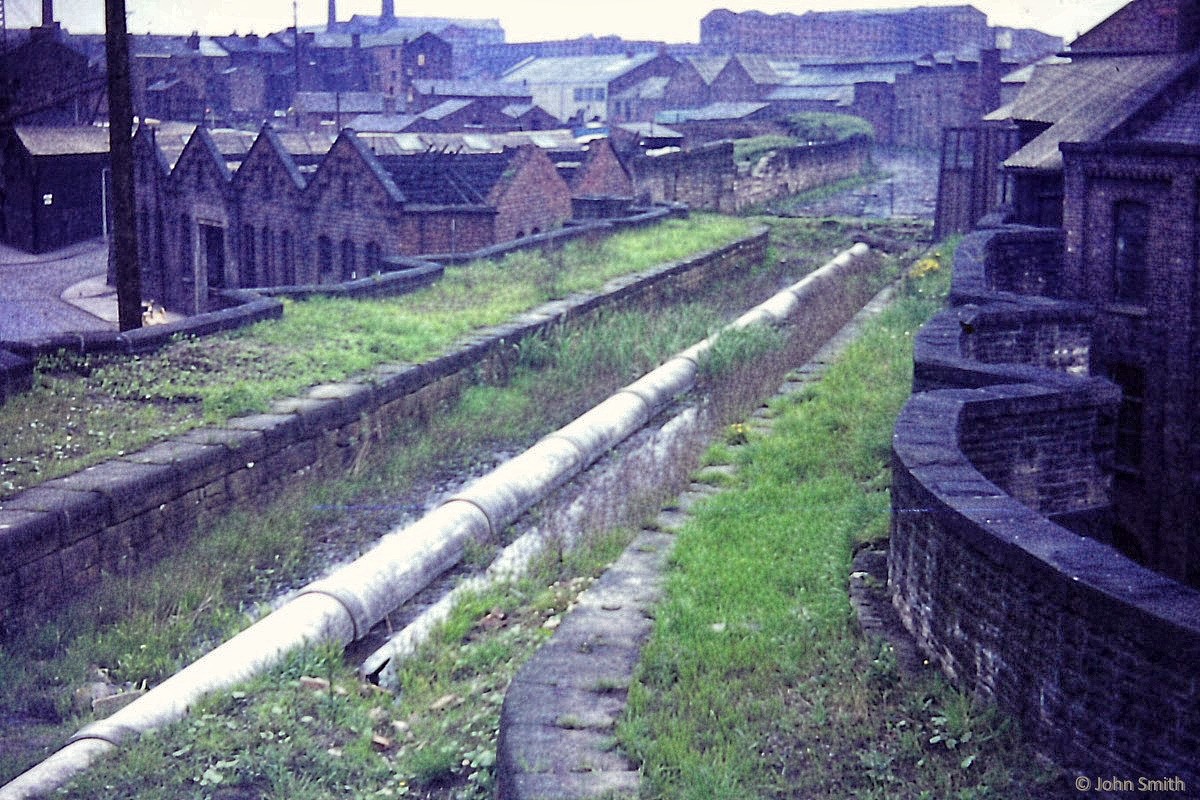
Store Street Aqueduct in Manchester is close to the western end of the Ashton Canal, near its junction with the Rochdale Canal. At the time this photo was taken the aqueduct had been leaking and a pipe had been laid to allow the through flow of water, with dams built across each end.
Photo: John Smith
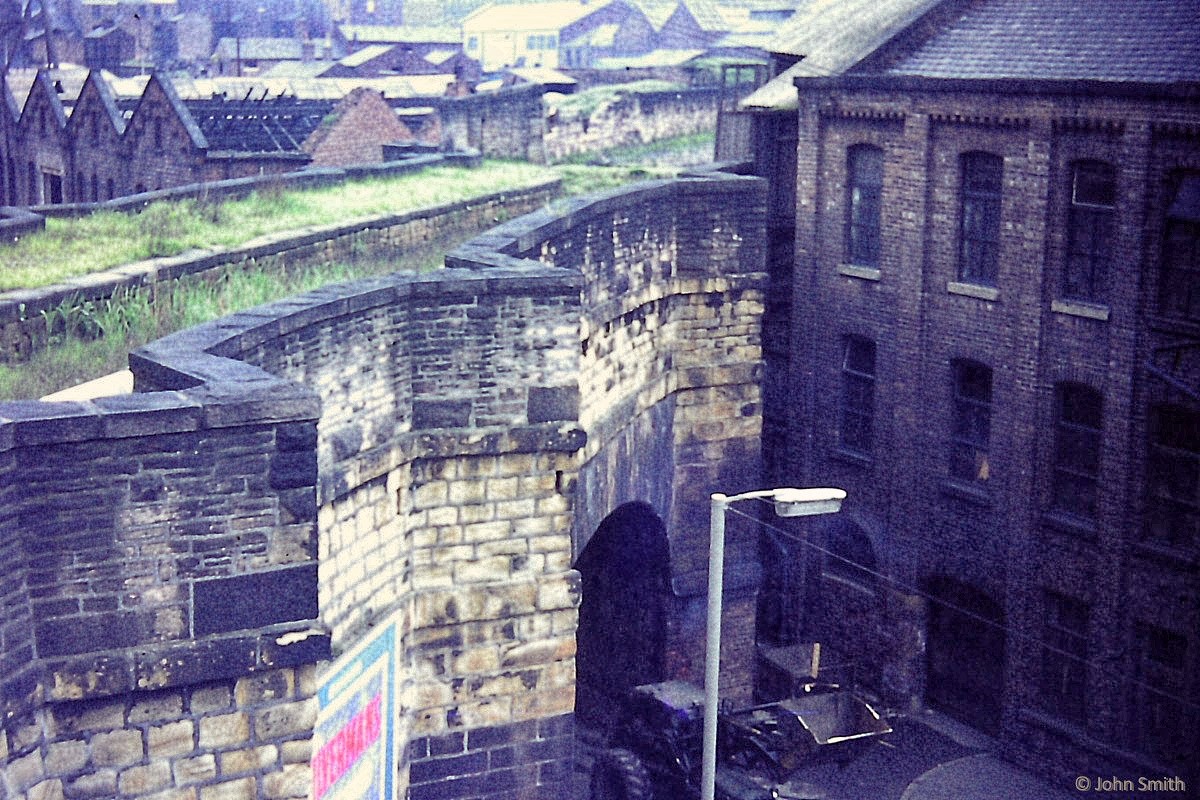
Store Street Aqueduct is an unusual structure. The canal crosses the Shooters Brook which is culverted beneath Store Street. Unusually the aqueduct was built on a skew of around 45 degrees.
Photo: John Smith
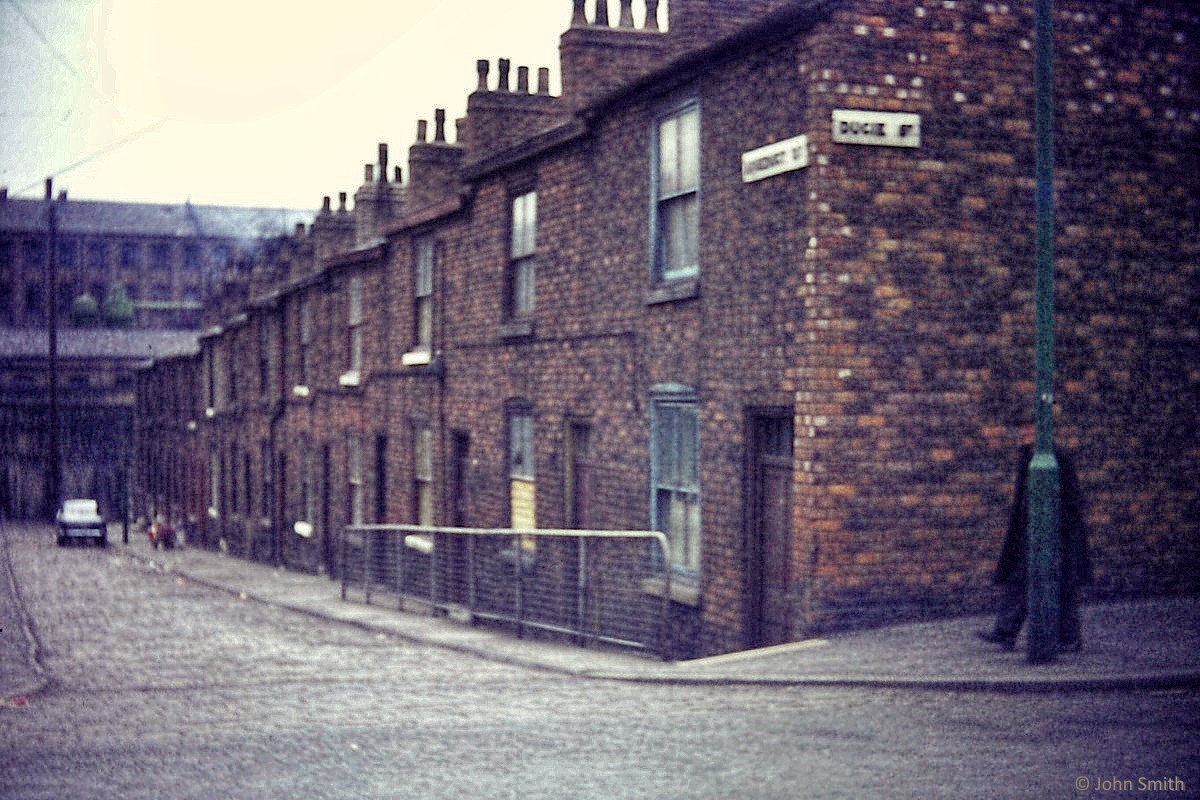
Aqueduct Street ran down from Ducie Street to Store Street, with the aqueduct visible at the bottom.
Photo: John Smith
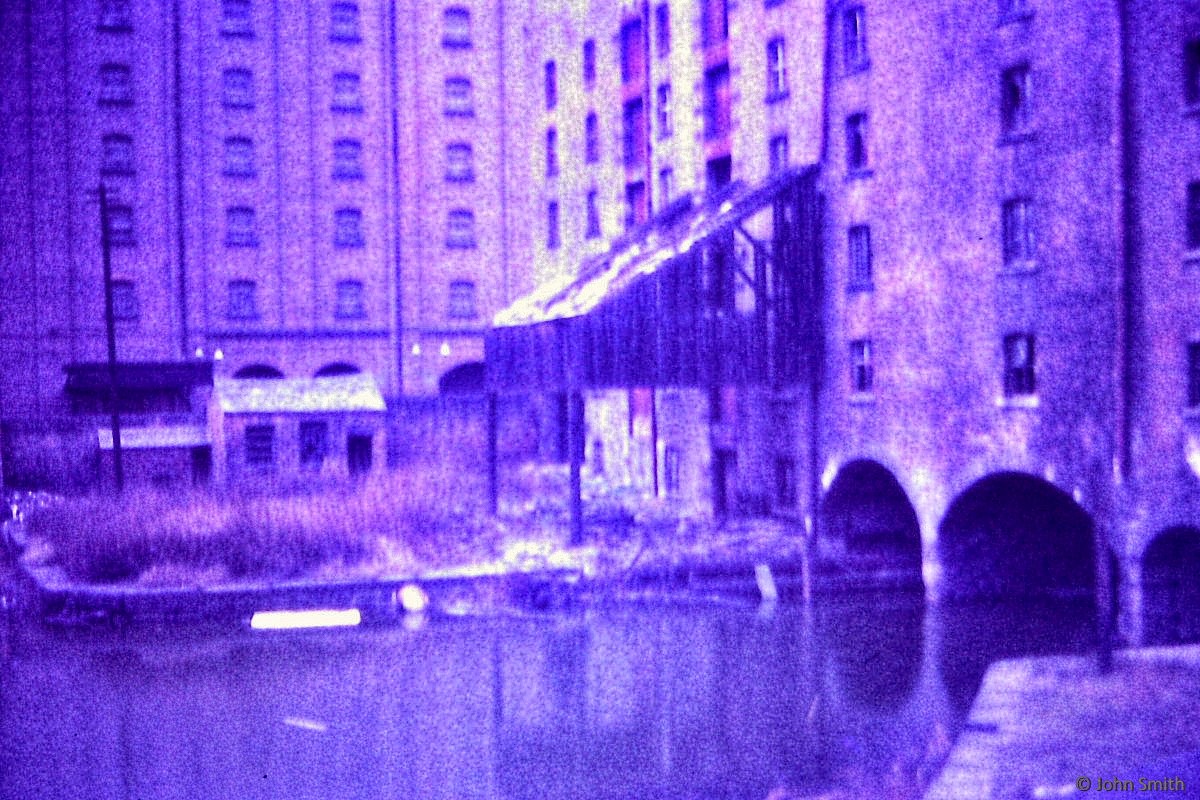
Ducie Street Warehouse straddled the short section of the Ashton Canal that connected through to the Rochdale Canal.
Photo: John Smith
On the east side of Great Ancoats Street, this view from Lock 1 looking towards Lock 2 shows the junction with the Islington Branch, which leads off to the left.
Photo: John Smith
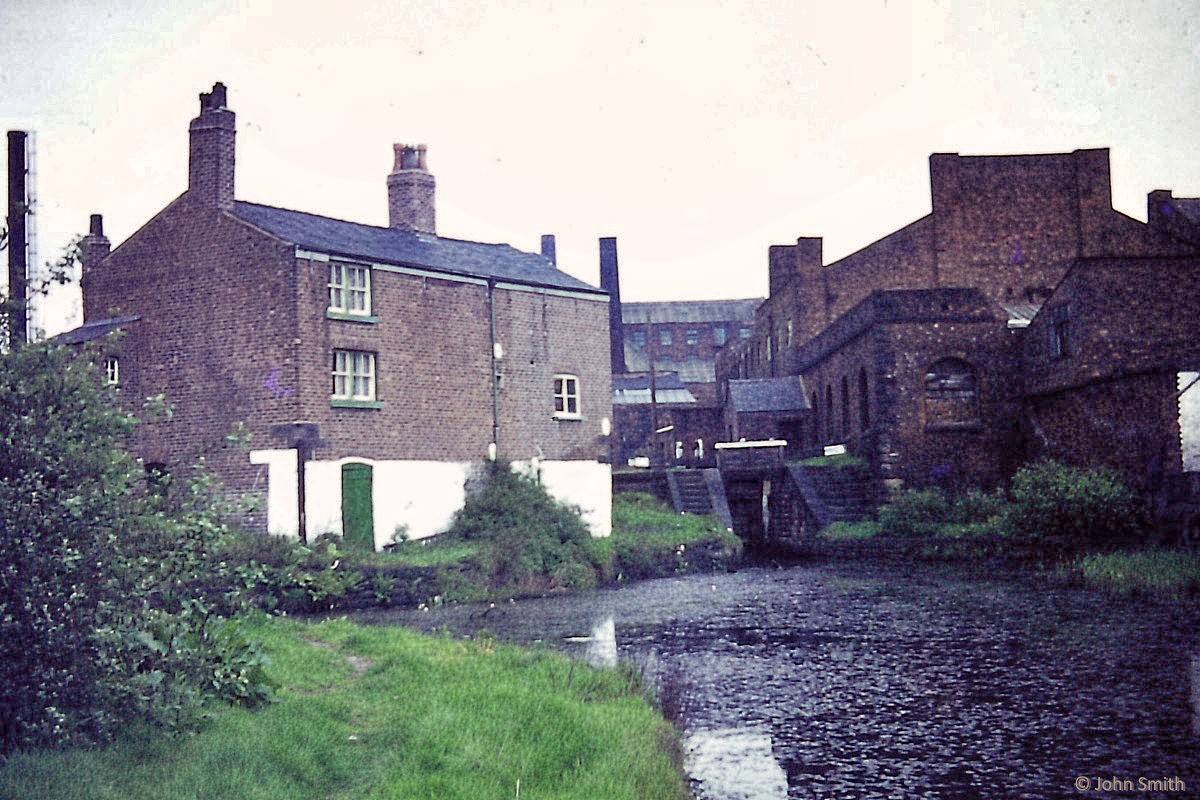
The entrance to the Islington Branch, with canal company cottages over.
Photo: John Smith

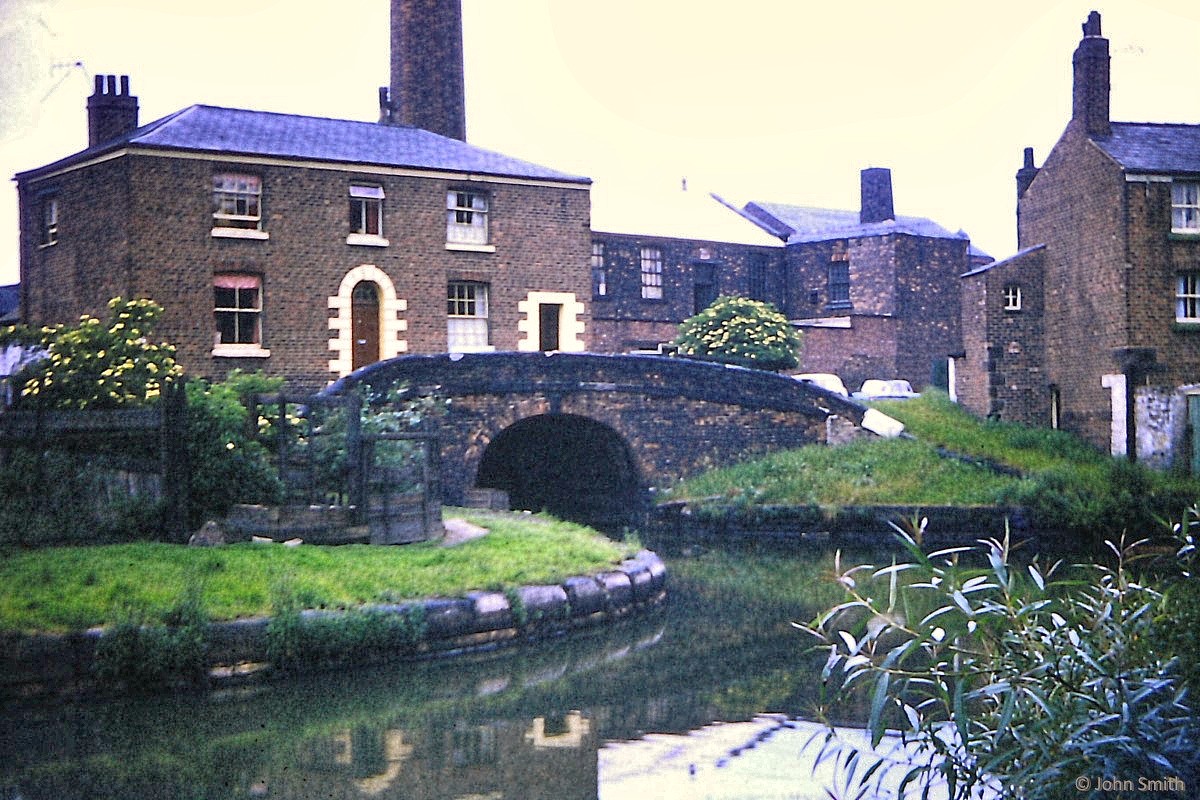
Looking along the Islington Branch towards Old Mill Street Bridge. After the bridge the branch turned to the right and continued for around the same distance.
Photo: John Smith
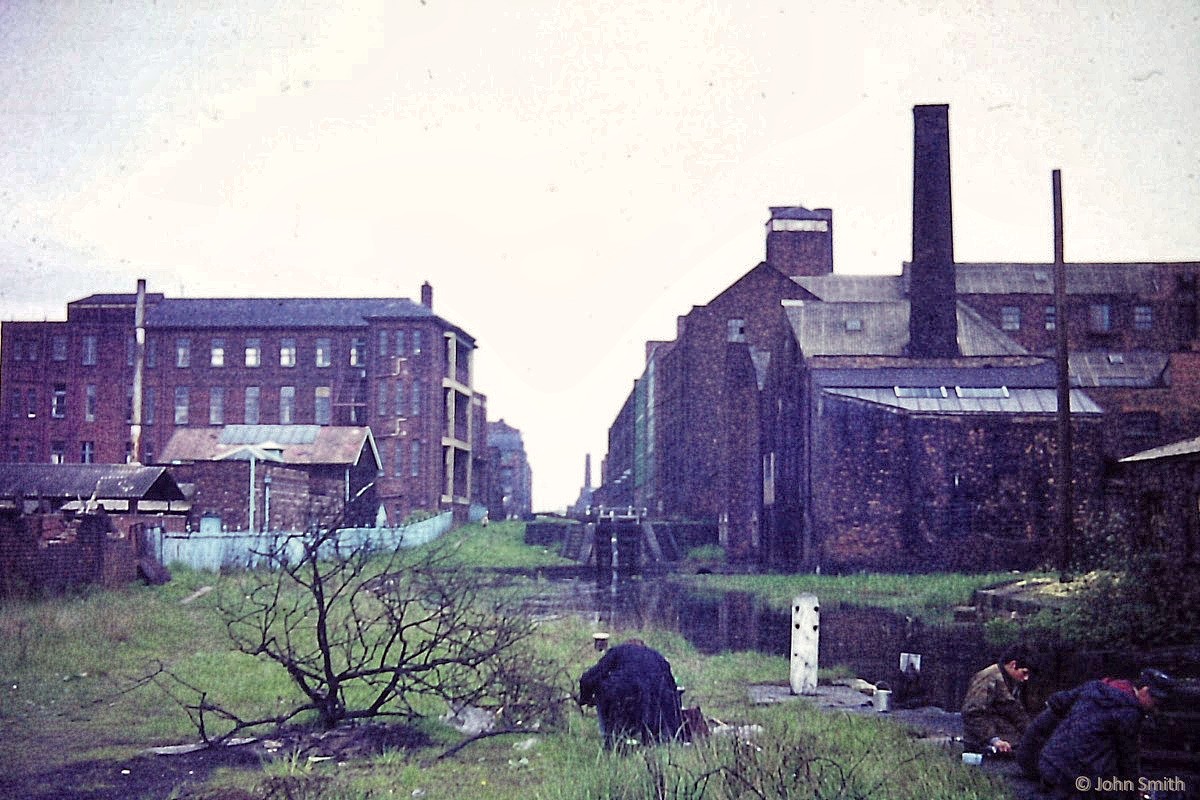
Looking from Lock 2 towards Lock 3, with part of Ancoats Hospital to the left.
Photo: John Smith
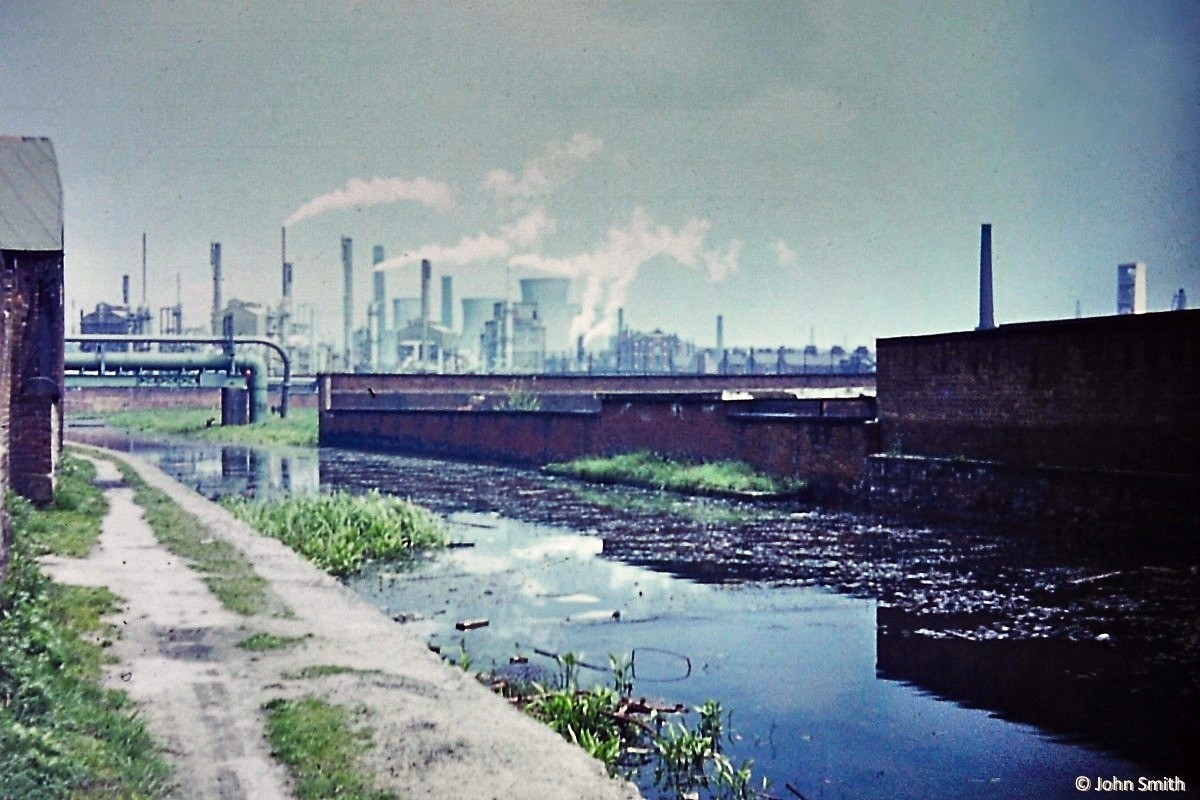
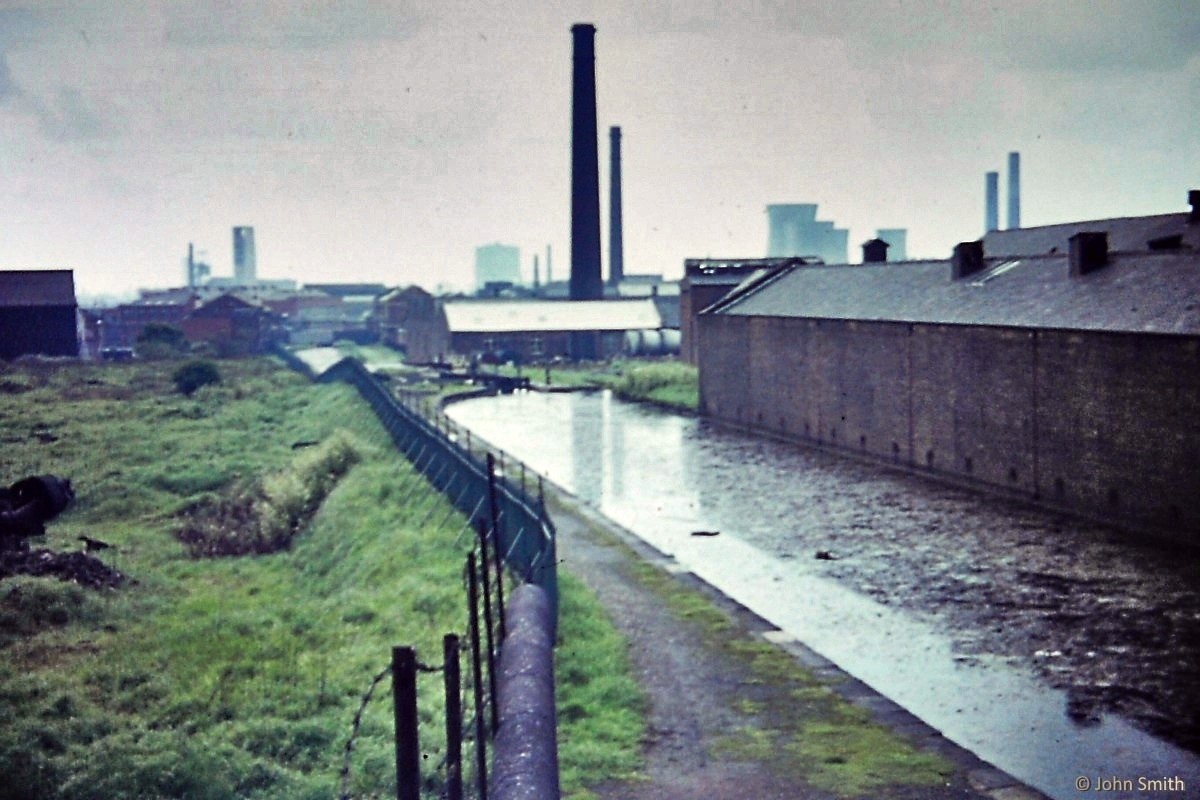
Half a mile after Lock 3, the canal curves slightly to the left and then, beyond the pipe bridge, swings round to the right towards New Viaduct Street. The industrial complex is now the site of car parking for Sports City. The pipe bridge is still in place.
Photo: John Smith
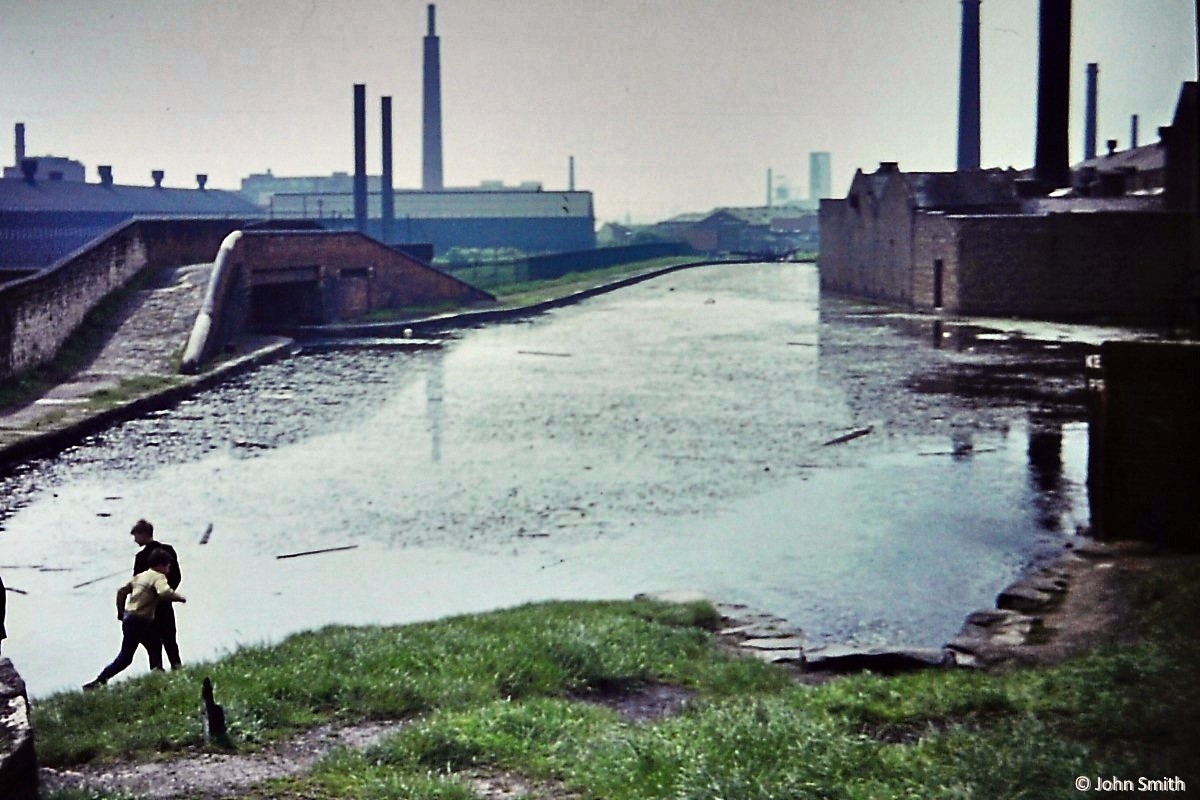
Part way up the Clayton flight, looking towards Lock 10 from the towpath bridge across the entrance to the Stockport Branch.
Photo: John Smith
Looking back from Lock 11 to Stockport Junction, with the Stockport Branch going off to the left and Lock 10 in the distance..
Photo: John Smith
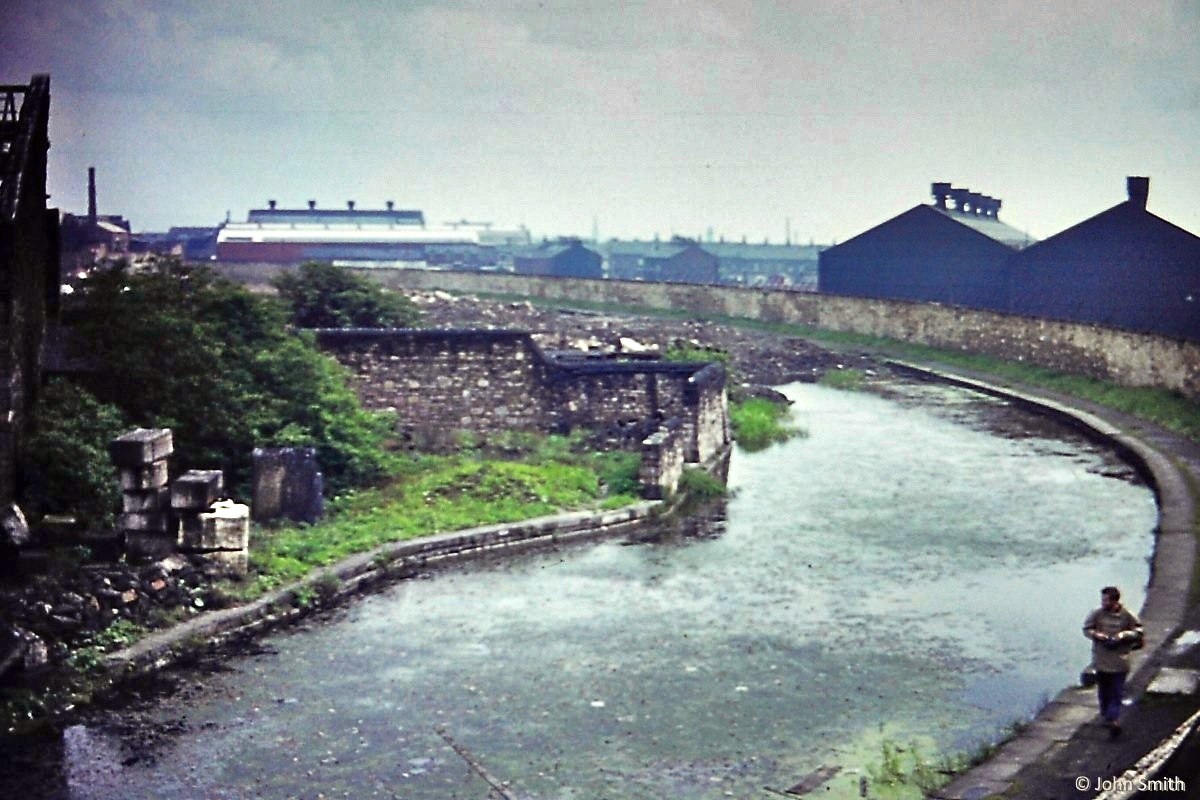
Looking along the start of the Stockport Branch from the towpath bridge across the entrance. Only the first short section was in water and you can see where the branch had recently been infilled. The canal company's wharf was on the left.
Photo: John Smith
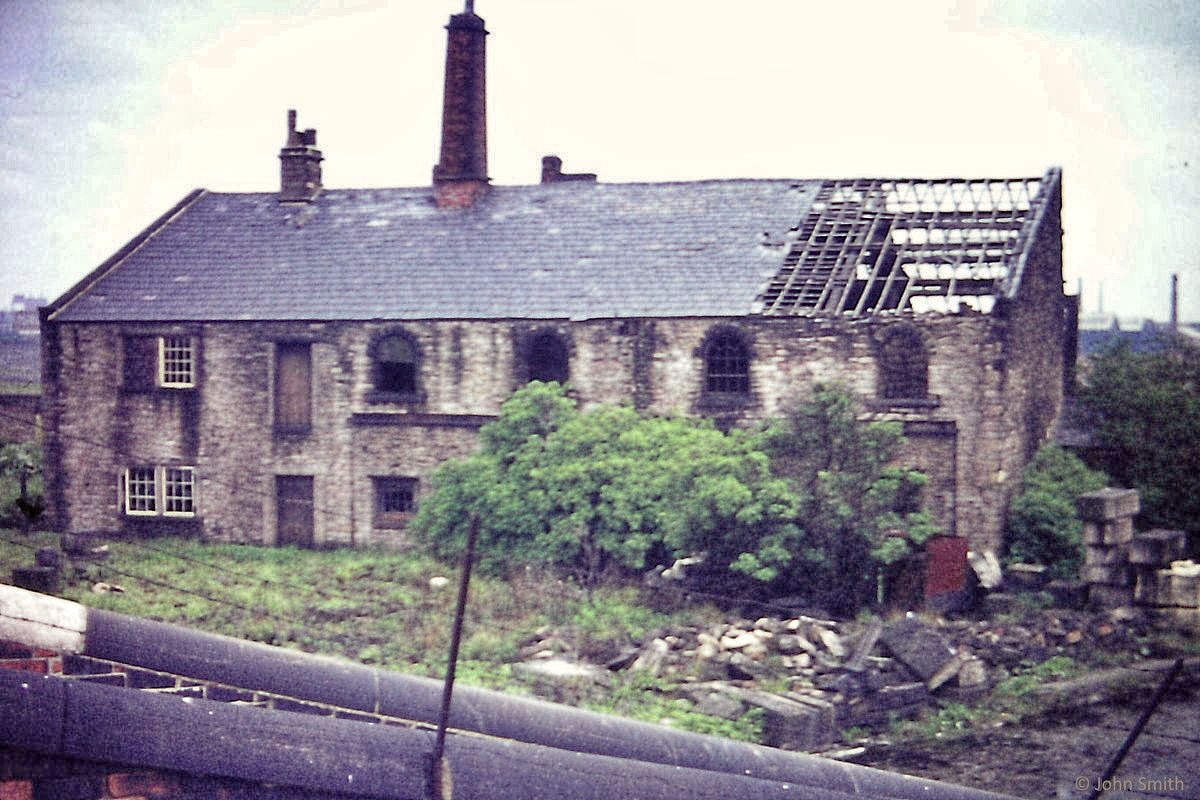
To the left of the previous photo, alongside the canal company's wharf, was Junction House, a works depot for the company.
Photo: John Smith

Turning the camera further to the left, the next photo looks up the flight towards Lock 11, missing its bottom gates.
Photo: John Smith
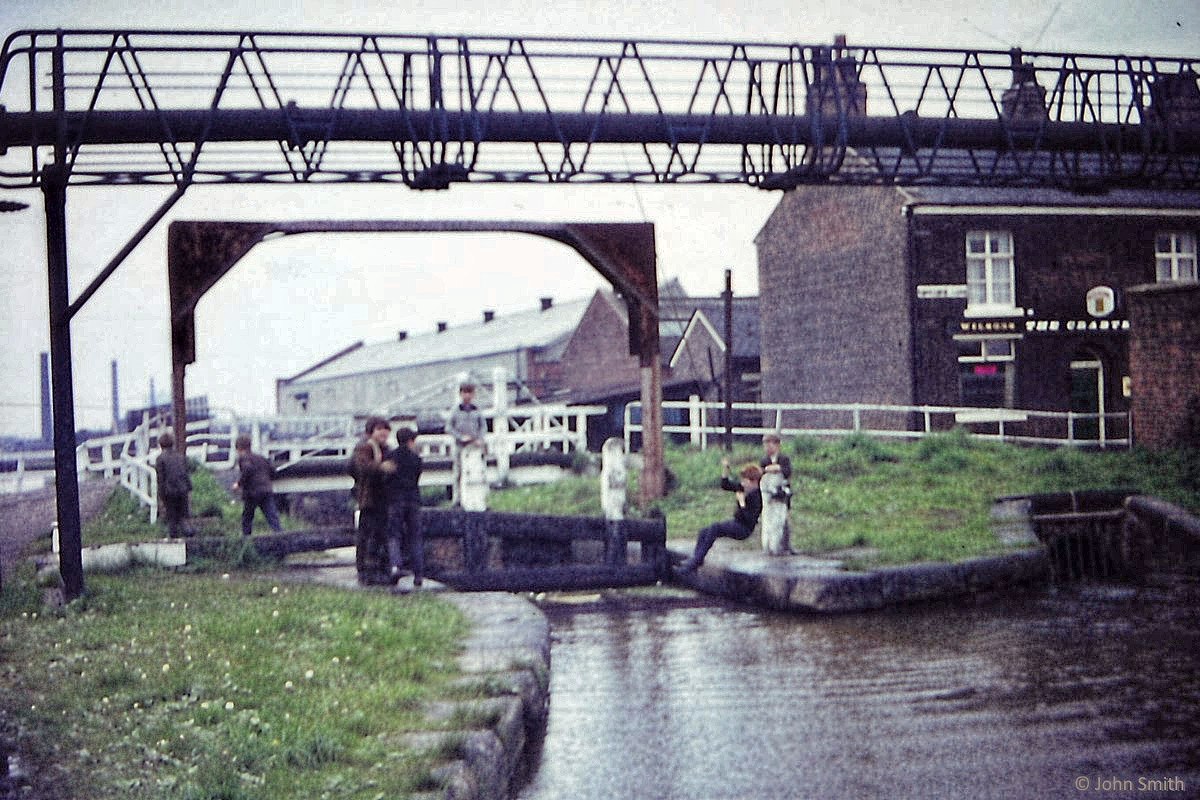
Lock 13, with broken balance beam, where Crabtree Lane crossed the canal by way of a narrow swing bridge across the lock chamber. On the right can be seen the Crabtree public house, now re-named the Strawberry Duck.
Photo: John Smith
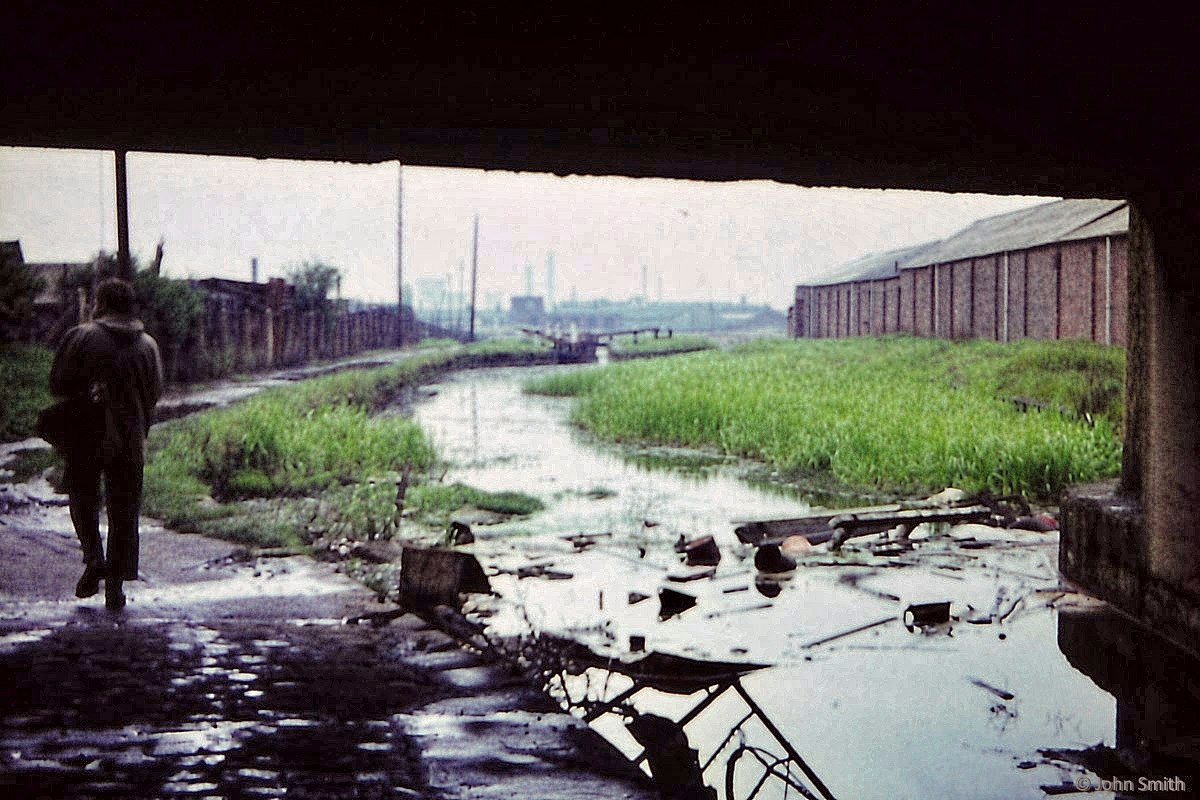
Looking towards Lock 15 from below Edge Lane Bridge.
Photo: John Smith